


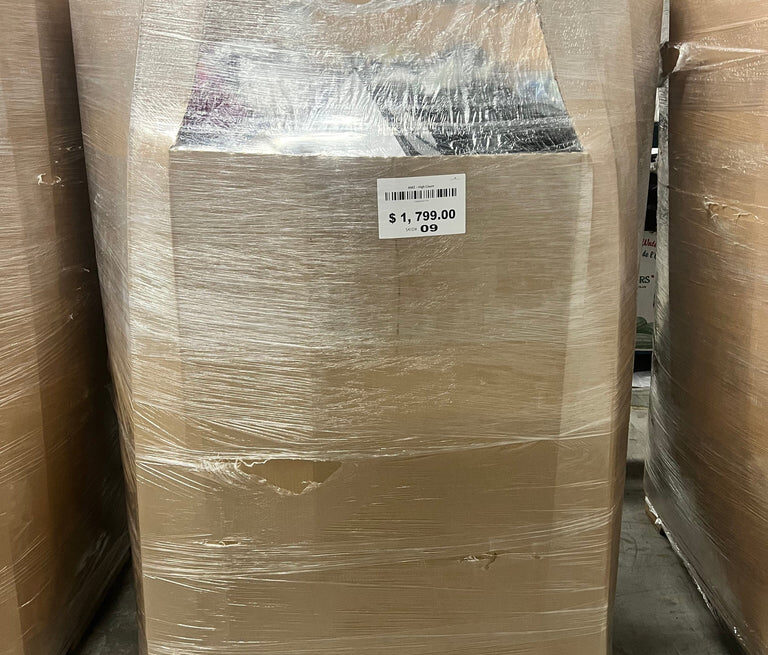
The first half hour after delivery decides how smoothly the rest of the lot goes. When you inspect a liquidation pallet properly, you catch freight damage while the driver is still there, learn the true condition of the stock and keep the evidence you need if something is wrong.
This is a practical 30-minute routine for receiving, counting and sorting a pallet, with spot checks by category and a checklist table you can print. It works for a single pallet or each pallet of a larger order.
Before the truck arrives
Preparation takes five minutes and saves a lot of scrambling. Because liftgate delivery is standard in the US, you do not need a forklift or loading dock, but you do need space ready.
- Clear a flat area near the delivery point, wide enough to open cartons and sort.
- Have your phone charged for photos, plus a box cutter, gloves, a tape measure and a pen.
- Keep the listing details to hand: the lot size, the condition grade and any manifest or category breakdown you asked for.
- Set up sorting zones with labelled boxes or floor tape: sell, test, repair, return, and discard.
- Watch your email for the tracking details we send once the pallet is booked with the carrier.
At the truck: inspect a liquidation pallet before you sign
Do these checks before you sign anything. Once the driver leaves, it is much harder to show that damage happened in transit.
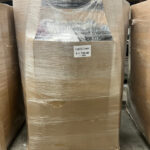
- Photograph the pallet from all four sides while it is still on the liftgate, with the shrink wrap intact.
- Check the wrap for tears, gaps and cuts. Check corners for crushed or wet cartons.
- Count the pallets and cartons against the paperwork the driver gives you.
- Write any visible damage on the delivery paperwork before you sign, in plain words, such as “two cartons crushed, wrap torn”. Take a photo of the signed page.
A signature without notes tells the carrier you accepted the freight as delivered. If something looks wrong, tell us through the contact page as soon as the truck leaves and attach your photos.
The first-pass sort
Open the pallet on camera if you can, or at least photograph each layer as you remove it. Your goal in this pass is speed, not detail. Do not test anything yet.
Unpack carton by carton and sort items into your zones by visible condition. Compare the contents with the lot description and grade: Grade A is like new or unused, Grade B is fully working with light wear or damaged packaging, and Grade C has cosmetic damage or needs attention. If you requested a manifest or category breakdown, tick items off against it as you go. If you are unsure how a condition type should look, our guide to customer returns, overstock and shelf pulls explains each.
Spot checks by category
You rarely need to test every item at once. Pull a sample from each carton and test those thoroughly, then widen the sample if you find problems.
Electronics
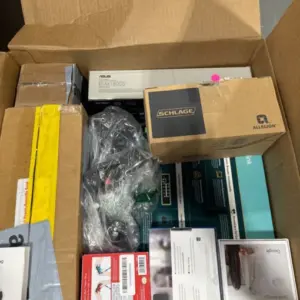
Check the model matches the label, look for cracks and swollen casings, confirm accessories and cables are present, and power up a sample. Do not try to open or repair devices. Read our notes on what is inside Amazon return pallets for what typically arrives with returned electronics.
Apparel and shoes
Check sizes against labels, look for stains, odors, missing tags and zipper faults, and match pairs of shoes. Sort by brand, since many resale platforms require different handling for each.
Tools
Confirm the tool, battery, charger and case are all there. Run a basic function check on a sample, with guards and handles in place. Check batteries carefully (see the safety notes below).
Collectibles and cards
Look at sealed products for crushed corners, tears and resealed wrap. Photograph valuable items straight away, before you open or handle them further.
Safety notes you should not skip
- Damaged lithium batteries: swollen, hot, leaking or dented batteries should be set aside, away from anything flammable and out of the sun. Do not charge them or ship them. Follow your local disposal rules.
- Recalled items: look up brands and model numbers of tools, small appliances, toys and baby products on the official recall database for your country before you list them. Never sell a recalled item.
- Heavy and sharp items: use gloves, lift with your legs and do not stack cartons above shoulder height.
- Power tools and appliances: if a unit sparks, smells burnt or overheats, unplug it and stop. Do not attempt electrical repairs.
The 30-minute receiving checklist
Use this table as a schedule. The times are a suggested pacing, not a rule, and large lots will take longer.
| Minutes | Step | What to record |
|---|---|---|
| 0 to 5 | Wrap and exterior check | Photos of all four sides, damaged cartons, torn wrap |
| 5 to 8 | Count and paperwork | Pallet and carton count, notes written on the delivery paperwork |
| 8 to 18 | First-pass sort | Items per zone, photos of each layer |
| 18 to 26 | Category spot checks | Sample size, faults found, working or failing |
| 26 to 30 | Safety and decision | Batteries set aside, recall checks started, keep or return |
What to do during the 14-day returns window
You have 14 days from delivery to decide whether the lot matches the listing. Use that time well. Finish your testing in the first few days so you are not guessing near the deadline.
If an error was ours, tell us through the contact page and send your photos, the paperwork and your counts. Otherwise the customer pays return freight. There is no restocking fee, and the refund is made within 5 days of inspection. The full terms are on the returns page, and our FAQ covers common questions.
Keep buying with a record
Keep your photos, counts and test results for every pallet. Over time they show you which categories pass inspection and which need a lower maximum price. Browse electronics or tools when you are ready for your next order, or contact us to request a manifest or category breakdown where the source provides one.




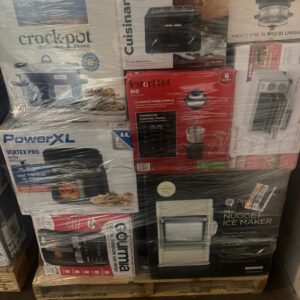

Ready to stock up?
Every price includes freight. Request the current manifest ahead of purchase.
Cookies help this site work better for you. Staying on the site signals acceptance of our cookie policy.
I AcceptYour Cart
ABDL Diapers Pallets (300Packs Per Pallet)
Price range: $350.00 USD through $1,000.00 USD
Wholesale Authentic Jordan Shoes Pallet
$1,000.00 USD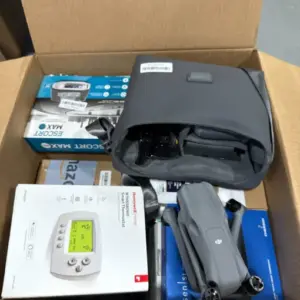

All Categories
Search
ABDL Diapers Pallets (300Packs Per Pallet)
Price range: $350.00 USD through $1,000.00 USDWholesale Authentic Jordan Shoes Pallet
$1,000.00 USD